
While it is possible to partition disks using the tools provided by an operating system, especially Linux, I prefer utilizing a GParted live ISO (which can be downloaded here) for two primary reasons. First, by booting directly from it, making changes to the kernel or boot partitions becomes significantly more straightforward. Second, due to its graphical interface, visually assessing and verifying the changes before finalizing them is a cleaner and more efficient process.
In this example, I will demonstrate a typical partition arrangement I use (as outlined here). Download the correct version for the hardware and setup (in this case, the 64-bit version for UEFI). Again based on your hardware, the ISO will need to be loaded onto a bootable USB drive (or burned to a DVD). After mounting and booting, select the version to run (the default is usually sufficient) as well as the keymap, language, and video settings.
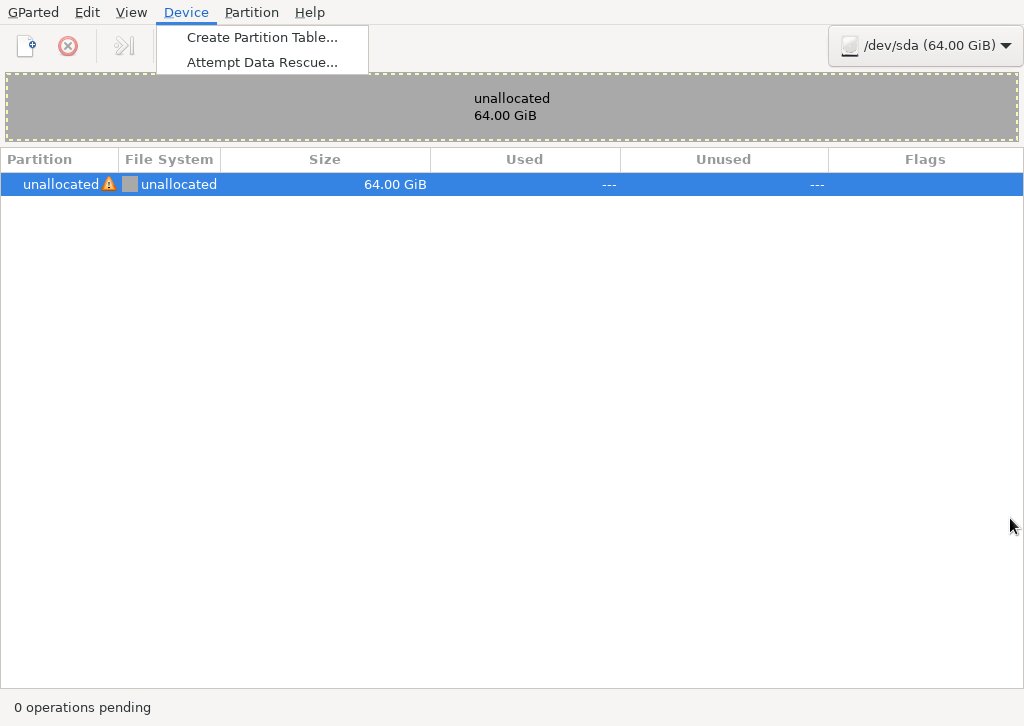
Once GParted has started and assuming new unused disks, the first step is to create the partition table on device sda.
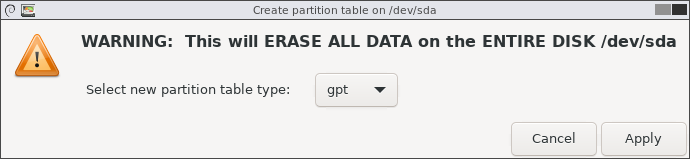
Since this disk will be for UEFI, select gpt as the partition type and apply.
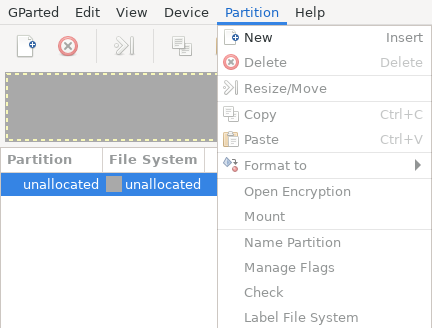
Select the unallocated space and create a new partition.
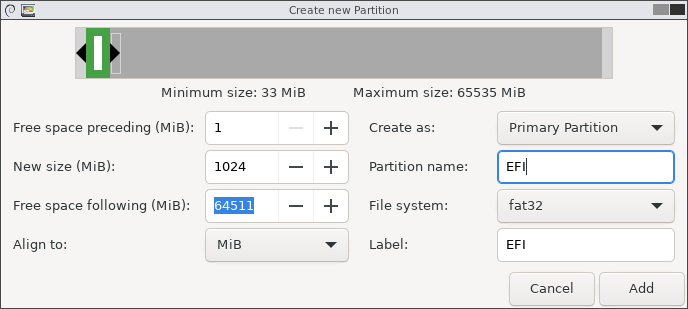
The first partition will be the 1 GB bootable EFI partition (/boot/EFI). Enter the appropriate parameters as shown below. Note that adding a name or label is not required, but I find it nice to have them later when installing the operating system.
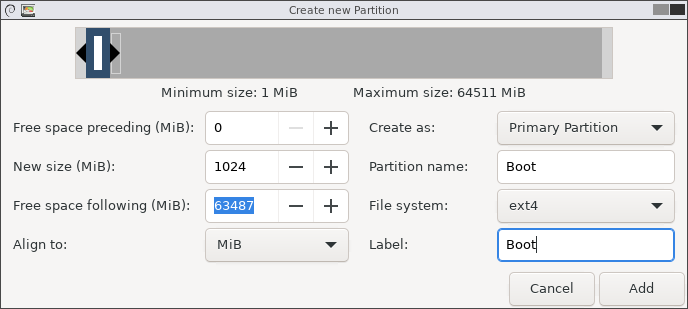
Create the second partition for the kernel (/boot).
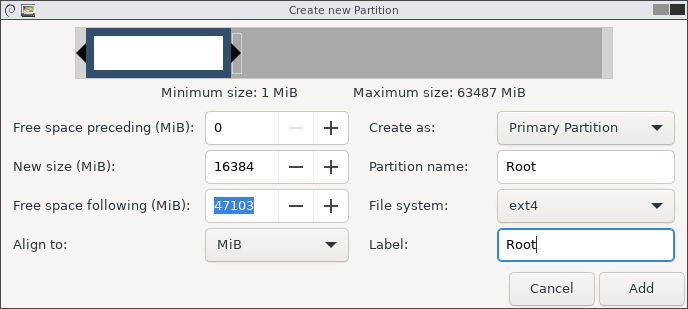
Create the partition for the root (/) partition.
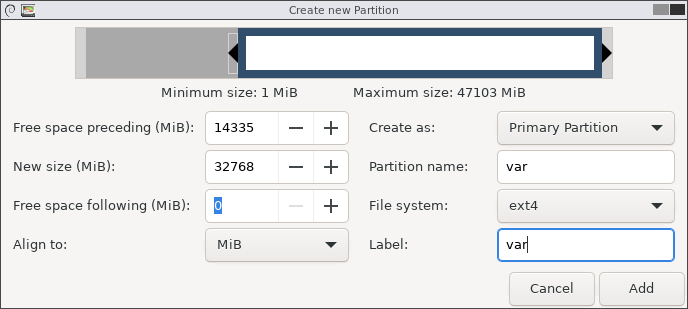
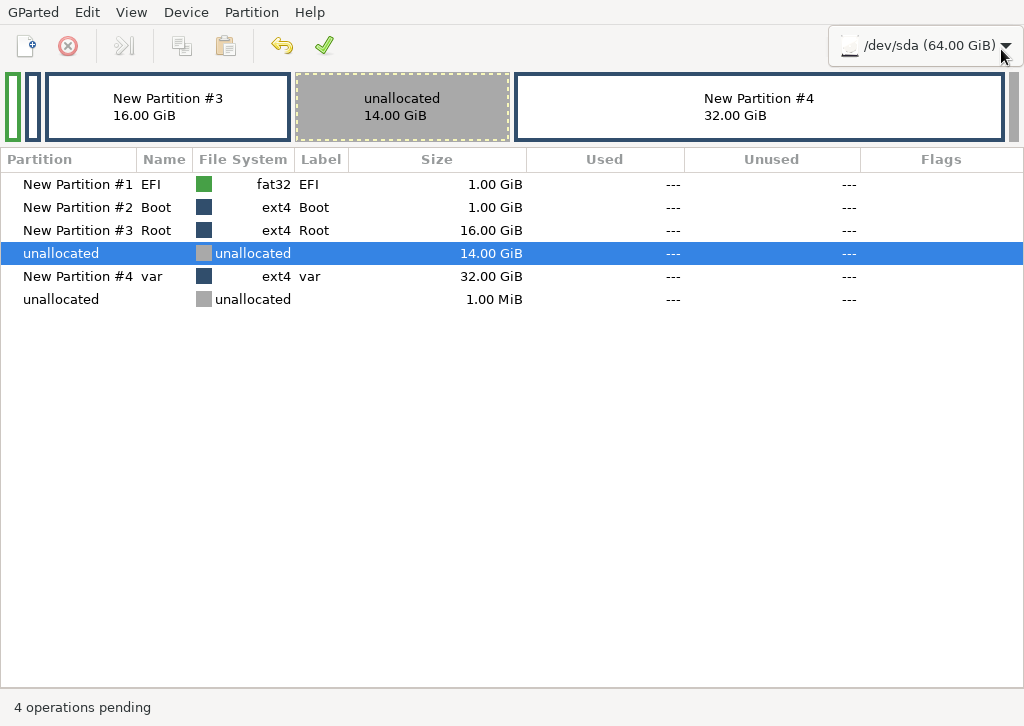
Create the partition for the variable files (/var). Note that I leave unused space before this partition in case either the / or /var partitions need to be expanded in the future.
After all the partitions are defined, apply all the pending operations.
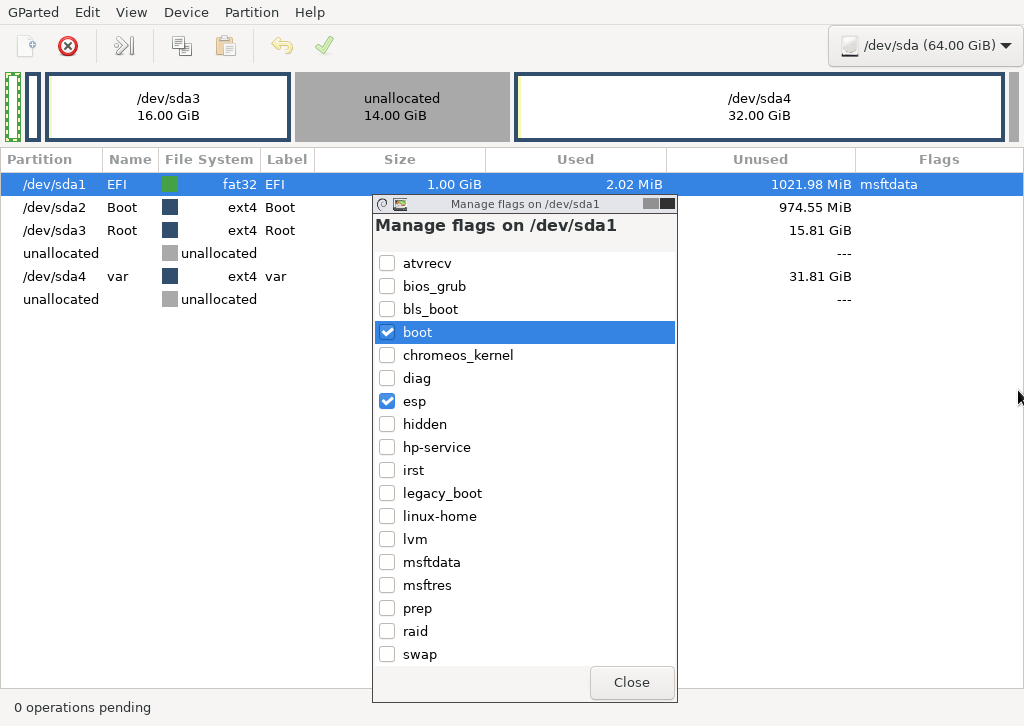
The last step for sda is to make the EFI partition bootable. Right click on the partition and select Manage Flags. Select just the boot and esp flags.
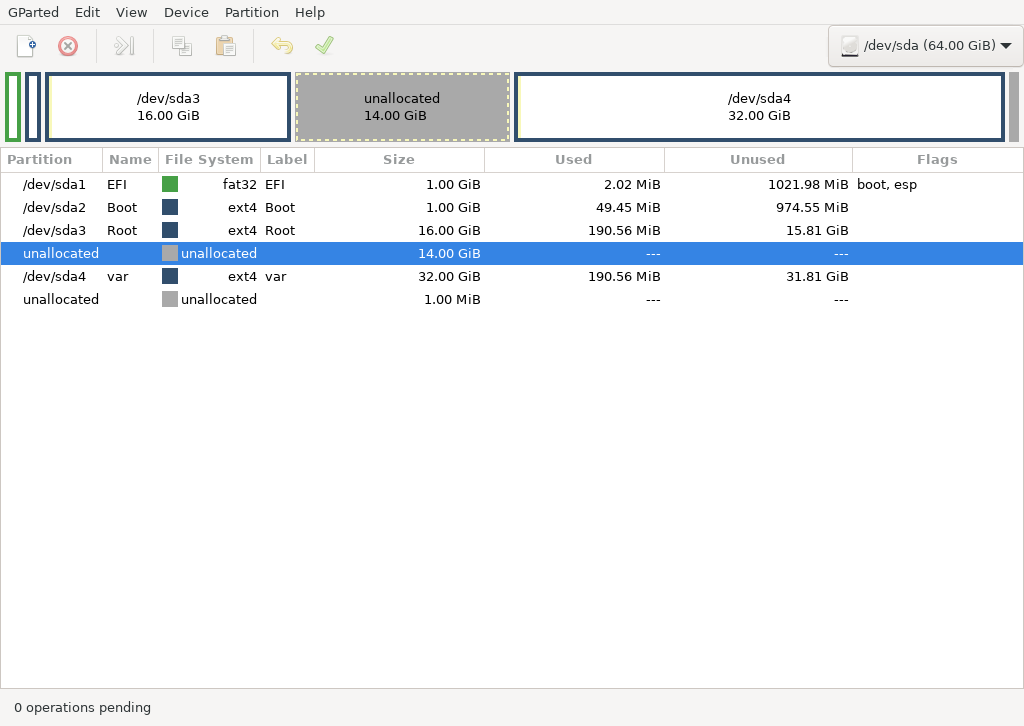
The final layout of sda should look like the screenshot below and is ready to go.
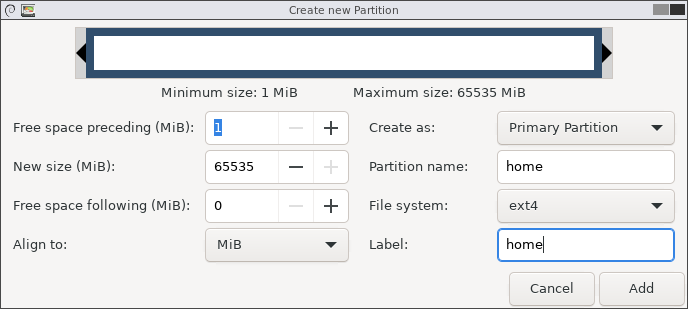
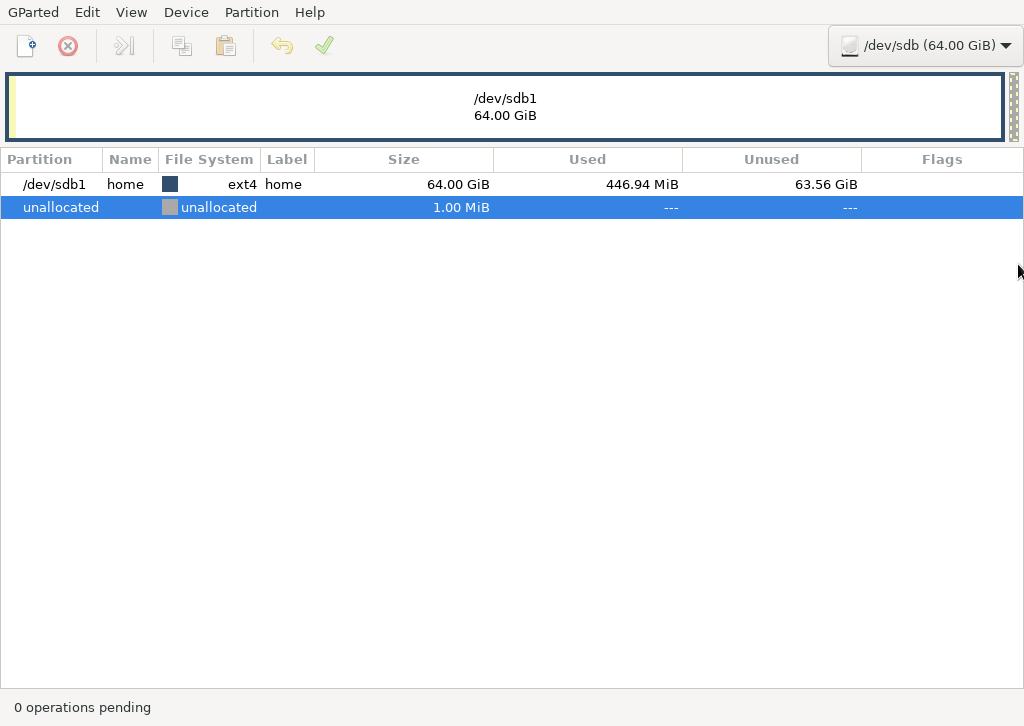
The last step is to partition the sdb drive to be the home partition. Switch to that disk and create the gpt partition table. For this disk, the entire disk will be used for /home.
Apply all the operations to the sdb drive.
The disk drives are now partitioned and ready for you to install Linux.