
I tend to work off my work laptop. It is locked down and encrypted. I cannot access the BIOS, nor configure it for dual boot. Thus the easiest way for me to setup, test, and play with various software and distros, is to use a virtual machine. Since it is a Windows 10 machine, I use Hyper-V.
The following is a basic guide for creating a Hyper-V VM optimized for Linux.
Storage Location & Virtual Hard Disks
In general, the Hyper-V wizard is sufficient for creating and configuring a VM for Linux. The exception is the virtual hard disks. The wizard does not create fixed size VHDs, and because of the way Linux file systems work, the default block size of 32MB for dynamically expanding VHDs results in the disks growing faster than the actual space used. For dynamic VHDs, it is recommended to use 1MB steps.
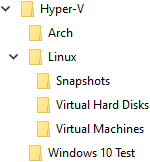
By default, Hyper-V stores all configuration files in one folder and all VHDs in another. To make general management cleaner, as well as importing and exporting, I prefer to store each VM in its own directory. First create the basic file structure – the folder for the VM and specifically the subfolder named ‘Virtual Hard Disks’. Then create the VHD(s) via PowerShell.
The PowerShell command to create a dynamic VHD is:
New-VHD ‘c:\hyper-v\linux\virtual hard disks\sda.vhdx’ -Dynamic -SizeBytes 128GB -BlockSize 1MB
The PowerShell command to create a fixed VHD is:
New-VHD ‘c:\hyper-v\linux\virtual hard disks\sda.vhdx’ -Fixed -SizeBytes 128GB
Create the VM
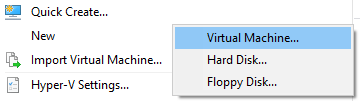
Launch the New Virtual Machine Wizard from the Hype-V Manager.
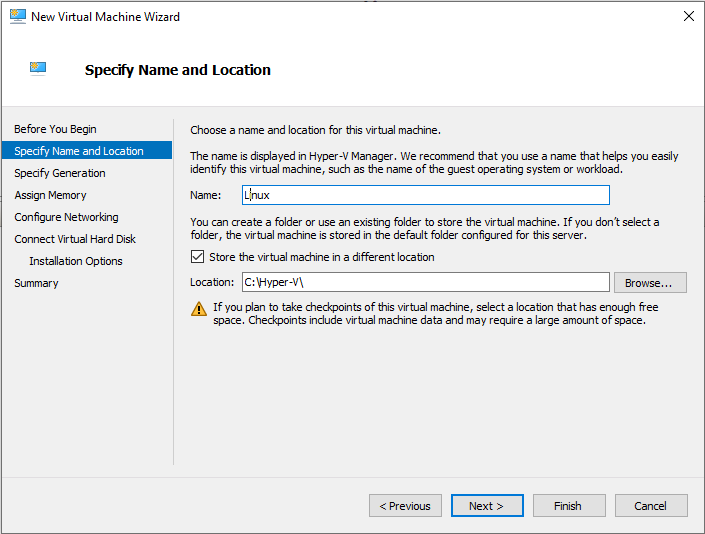
Specify the VM Name and Location
Enter the name for the VM and if using a custom folder structure, check the “Store the virtual machine in a different location” option. Enter (select) the folder above where the VM is to be stored. Note that the wizard will create (or use) a subfolder in the specified location with the VMs name.
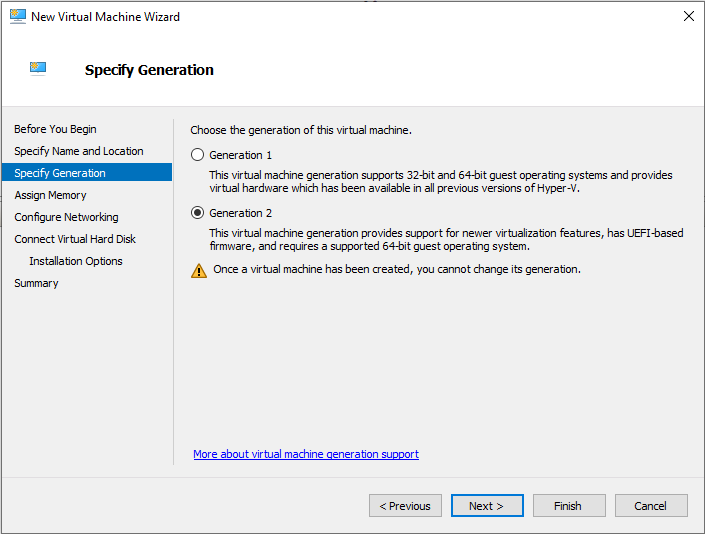
Specify Generation
Specify the firmware generation for the VM. Gen 1 uses legacy BIOS, and gen 2 uses UEFI. Although most newer versions of Linux distros will work with either generation, I prefer to use gen 2. Note that once a generation is set, it cannot be changed.
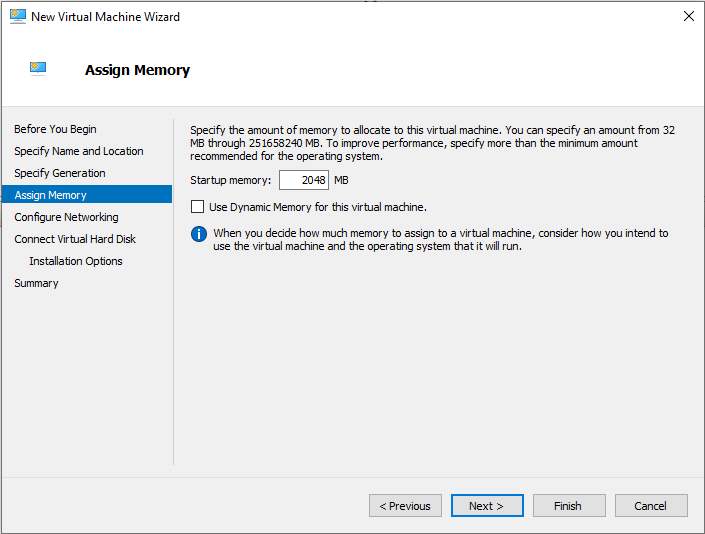
Assign Memory
Specify the amount of RAM to dedicate to the VM. Note that if that amount of memory is not available at startup, Hyper-V will not allow the VM to boot. The use of dynamic memory can cause issues for some guests operating systems and software. When possible, I try to avoid using dynamic memory.
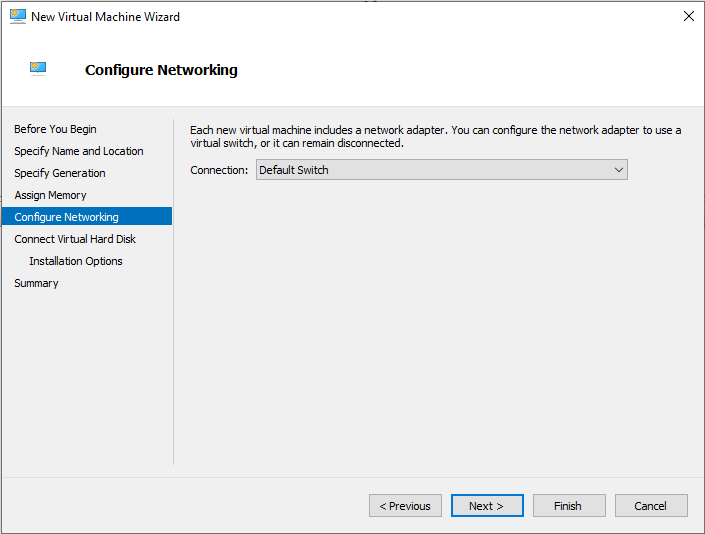
Configure Networking
As most Linux distro installations require a internet connection, be sure to set up at least one connection. Select a previously configured virtual switch. Later versions of Hyper-V on Windows 10 automatically create a ‘Default Switch’ which provides NAT and DHCP services to the VM. This is useful especially for wireless adapters, which do not share between the the host or the virtual switch architecture well.
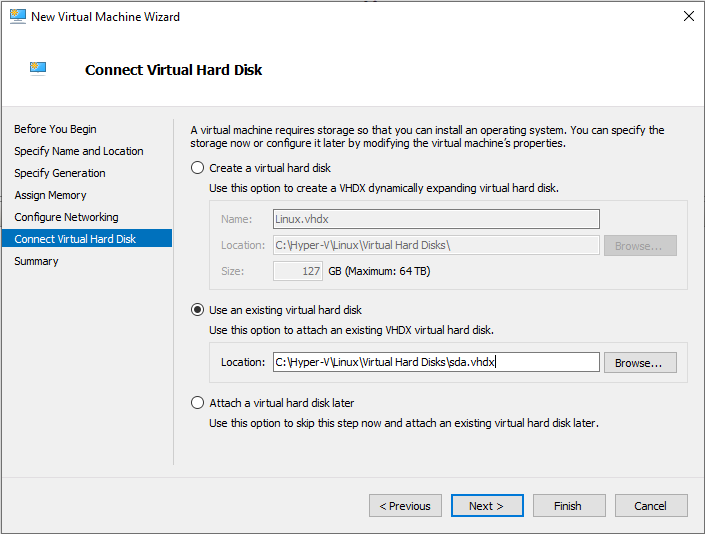
Connect Virtual Hard Disk
Select the “Use an existing virtual hard disk” option and select the VHD created earlier. Click Finish to exit the wizard and create the VM.
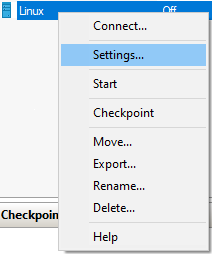
VM Settings
The default settings the wizard uses to create the VM are not always optimal or complete. Right click on the VM and open the settings dialog.
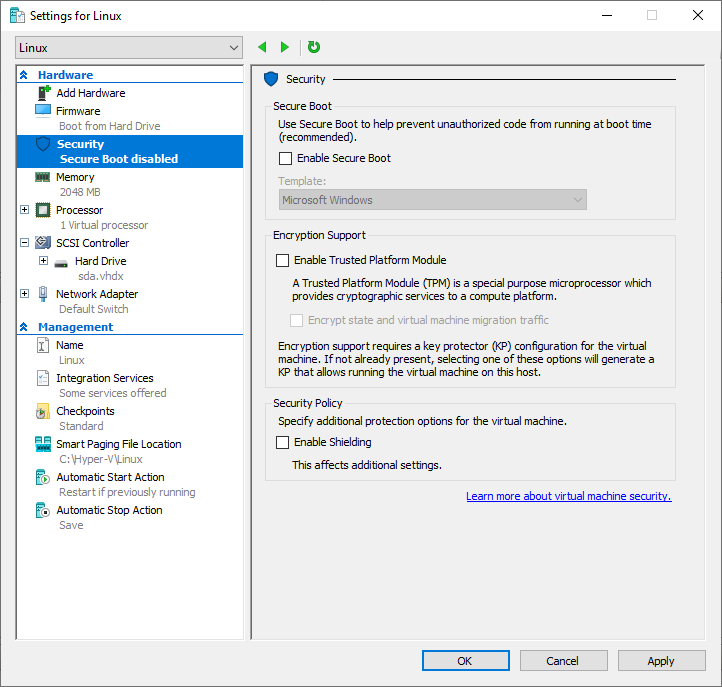
Disable Secure Boot
Uncheck the “Enable Secure Boot”. Some Linux distros and live ISOs don’t support the Windows Hyper-V secure boot functionality. Depending on the specific distro and needs of the VM, this can be turned back on later.
Add DVD drive
Add a DVD and select the image file of the ISO to be used to install Linux. In addition, if multiple VHDs are to be used, they need to be specified and mapped under SCSI Controller section.

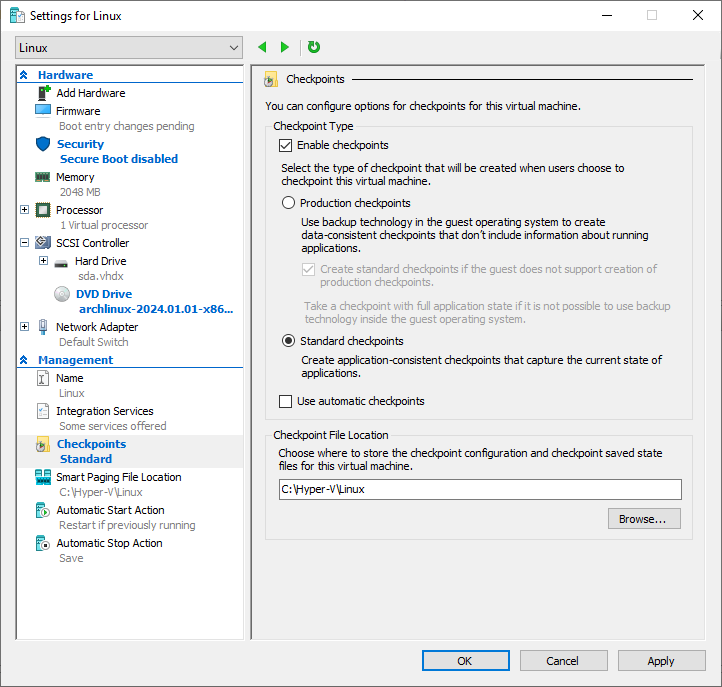
Set Checkpoints
By default, the wizard turns on Standard Checkpoints and automatic checkpoints. Set as desired.
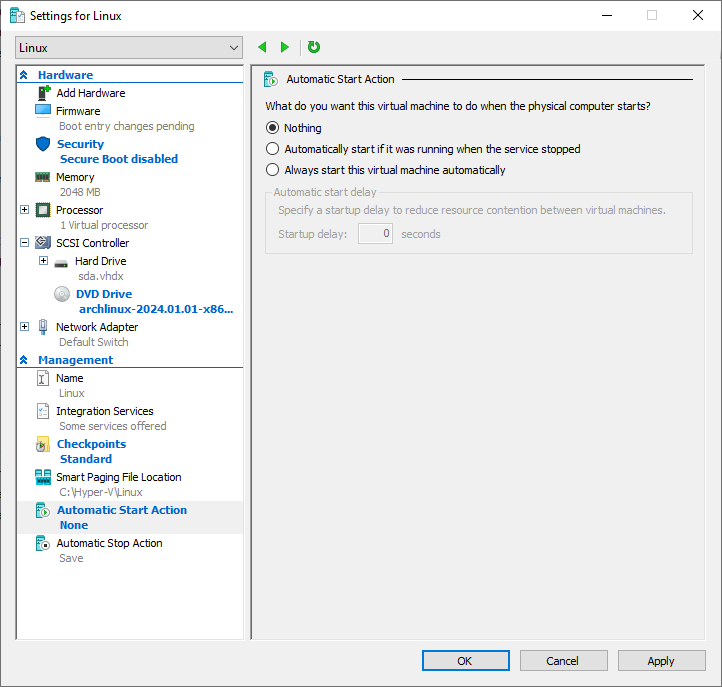
Set Automatic Start Action
The wizard initially sets the VM to start if it was previously running. Set as needed.
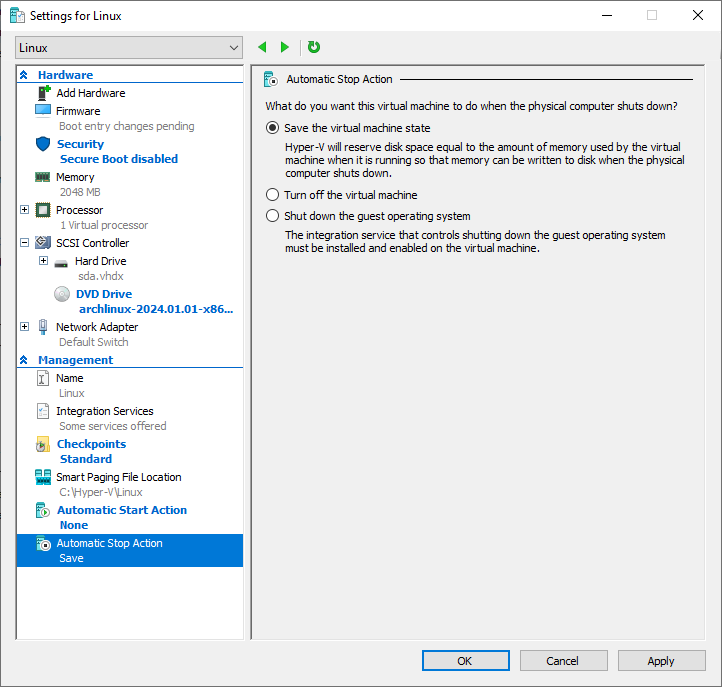
Set Automatic Stop Action
The wizard initially sets the VM to save the virtual machine state. Set as needed.
Close the Settings dialog. The VM is ready to boot and install Linux.
Additional Settings
- If using dynamic memory, the amount specified during the wizard, sets the startup RAM needed. The default minimum and maximum values will be based on the hardware and may not be optimal. So these should be set to the needs of both the host and the guest.
- The wizard defaults to 1 virtual processors. This can be adjusted up to the number of cores available on the host systems hardware. Note that depending on the distro to be used, multiple CPUs or cores may not work.
- The wizard only connects 1 VHD, if needed, add and map additional VHDs.
- The wizard only creates 1 network connection, if needed, add and map additional NICs.
Additional References
- Best Practices For Running Linux On Hyper-V (Microsoft.com)
- Should I Create A Generation 1 Or 2 Virtual Machine In Hyper-V (Microsoft.com)
- Hyper-V Dynamic Memory Best Practices (nakivo.com)